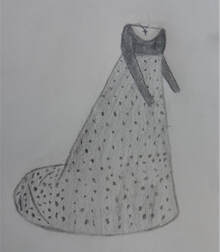
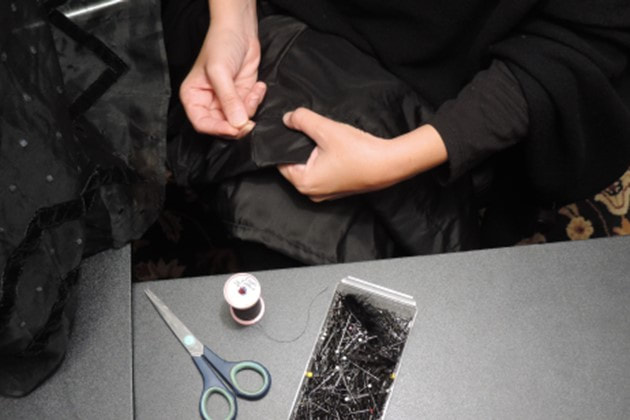
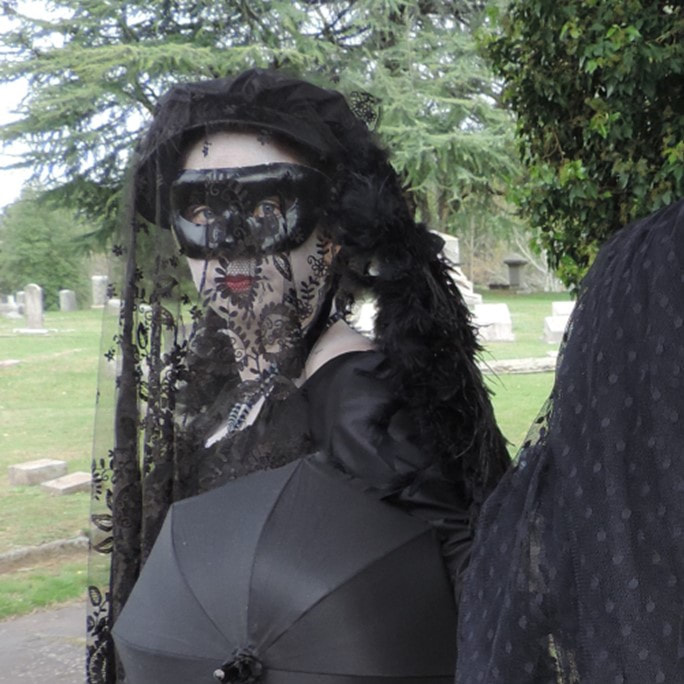
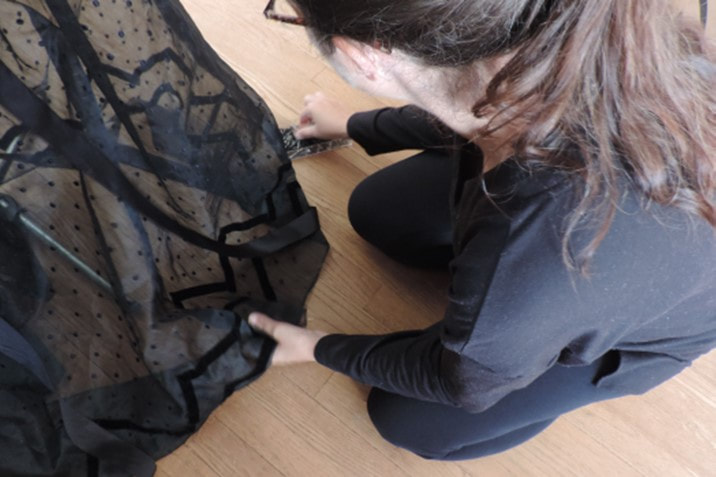
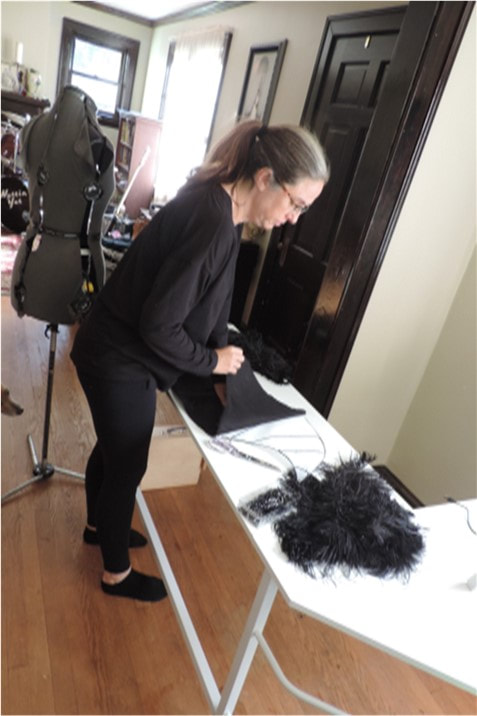
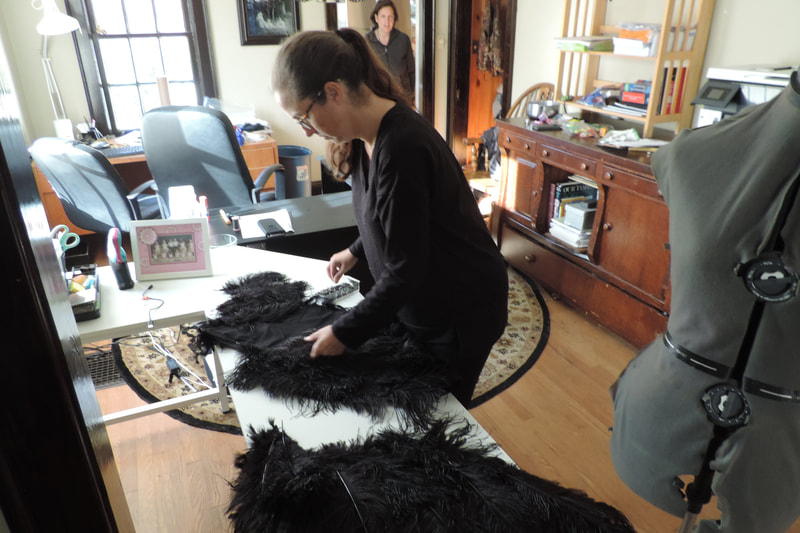
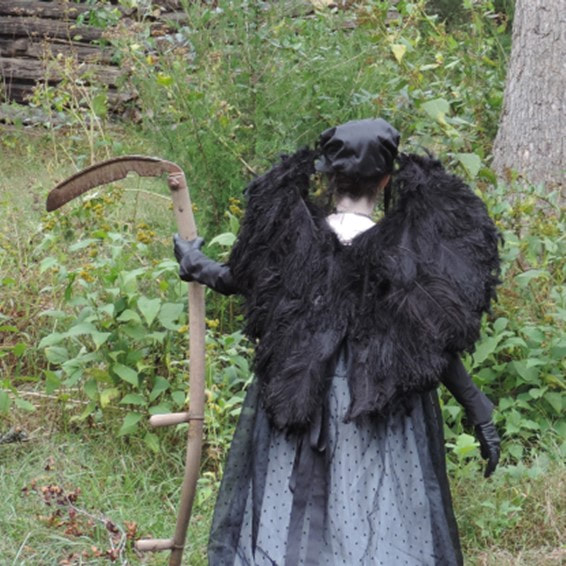
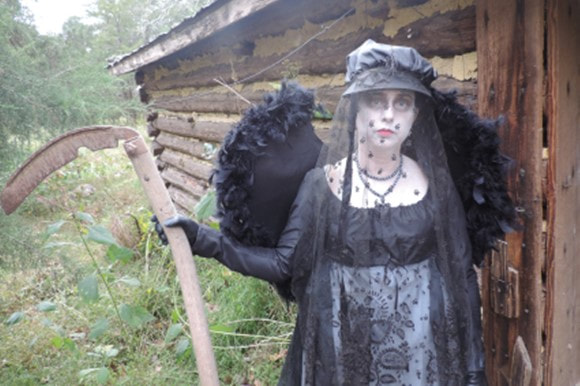
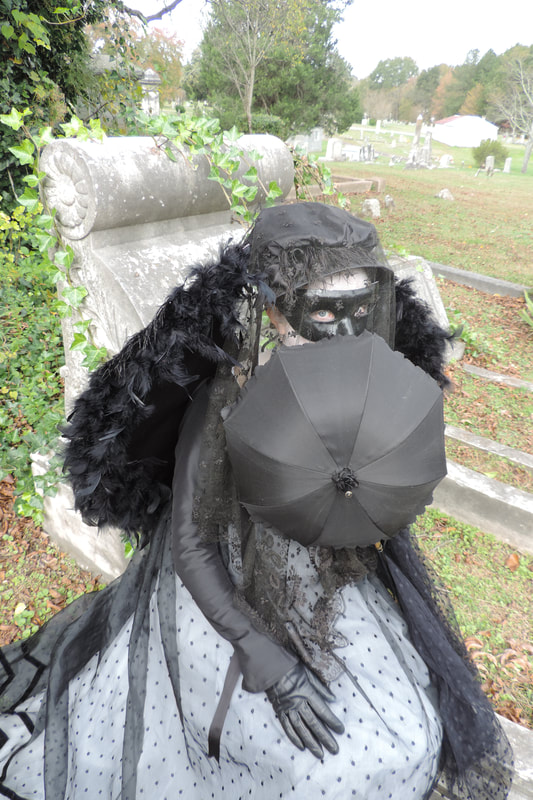
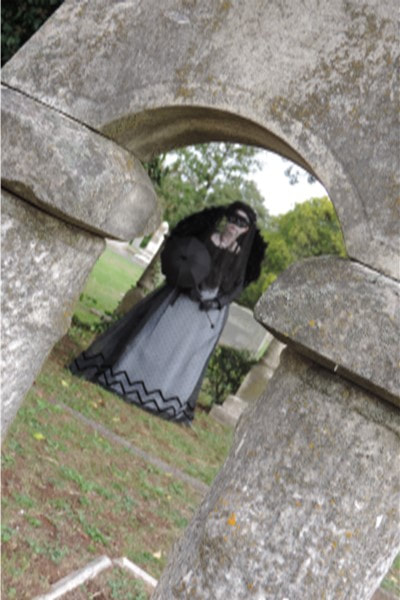
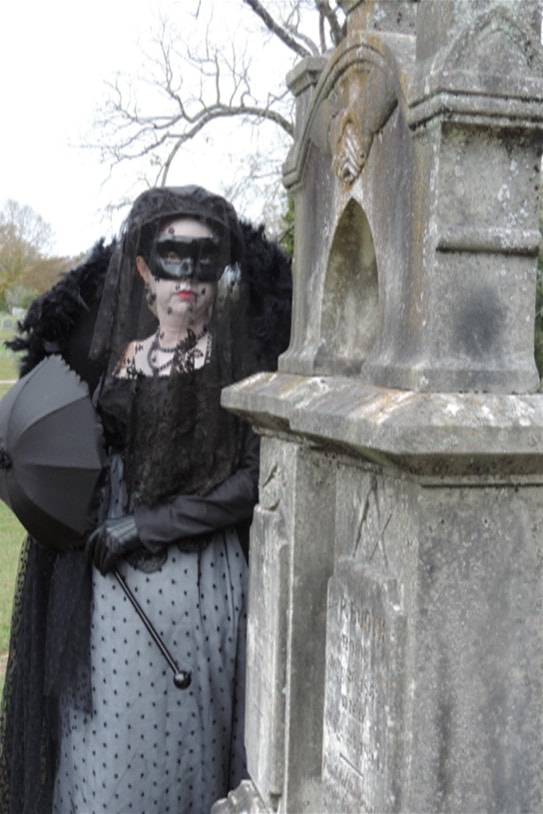
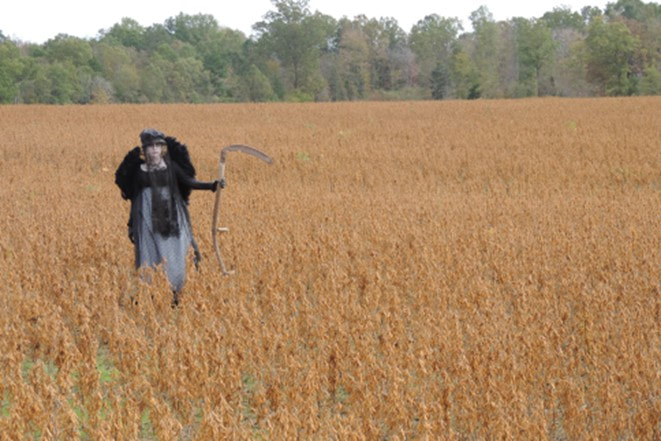
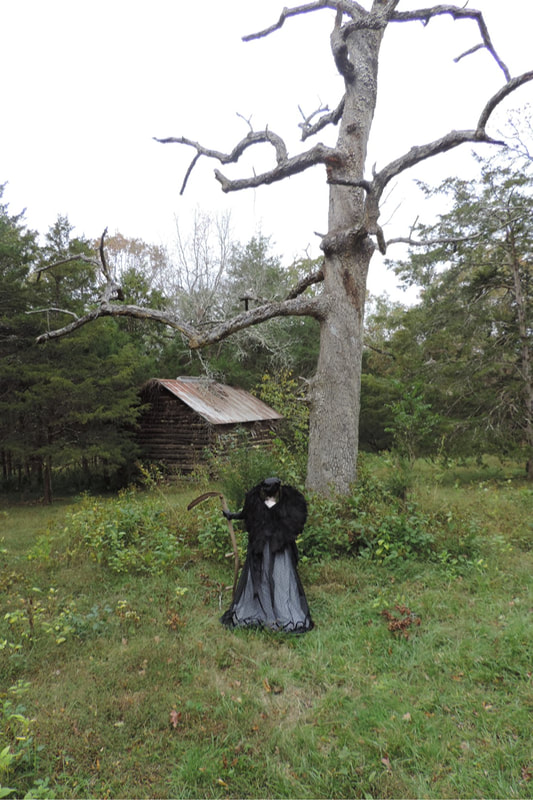
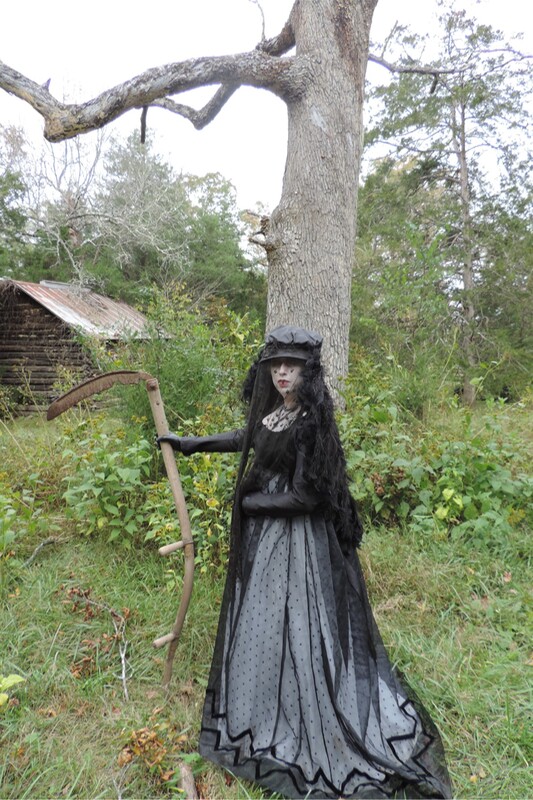
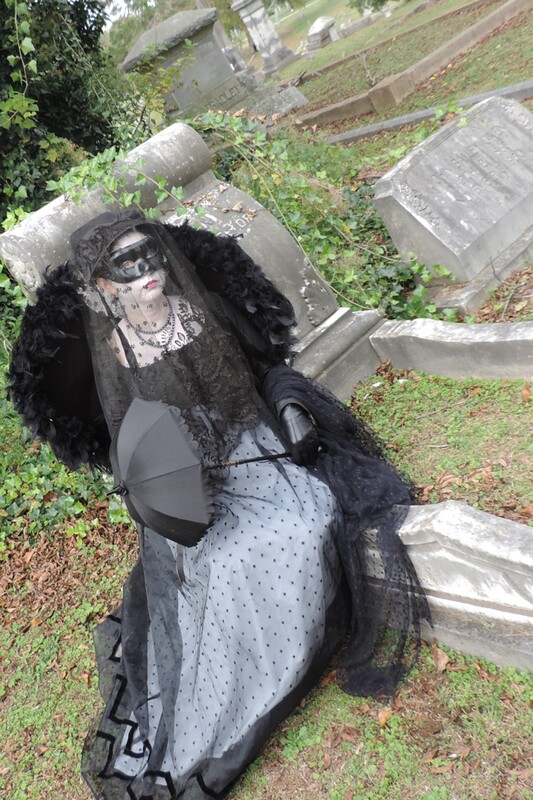
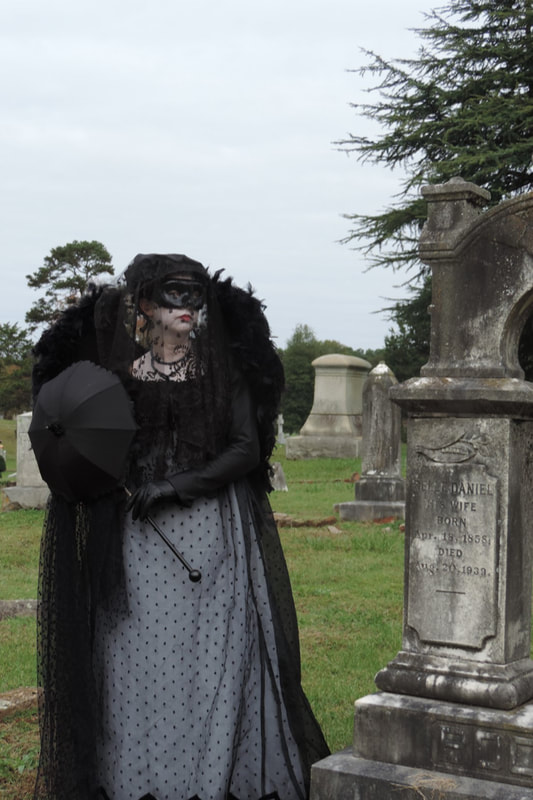
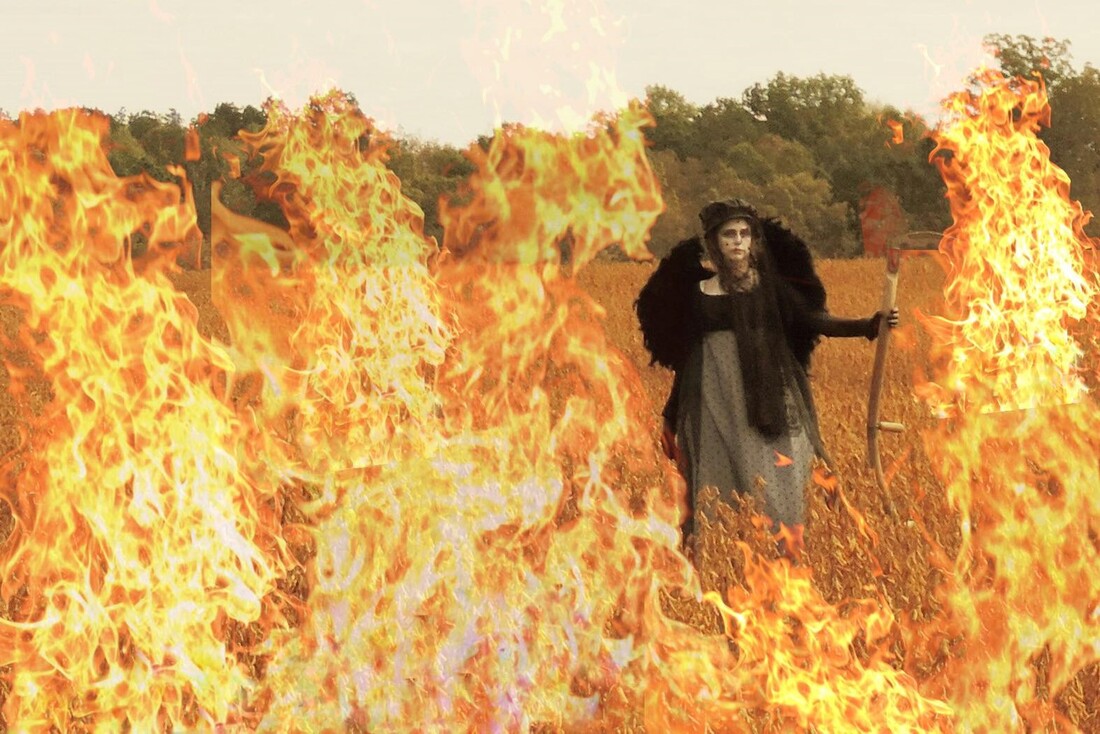
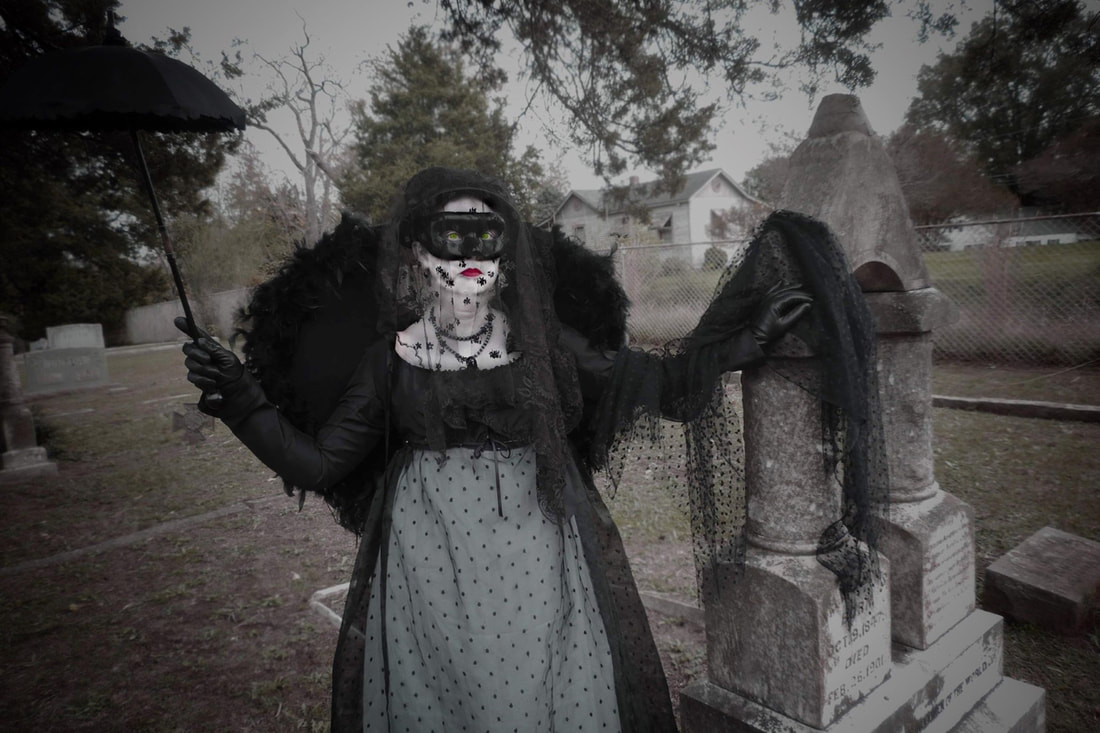
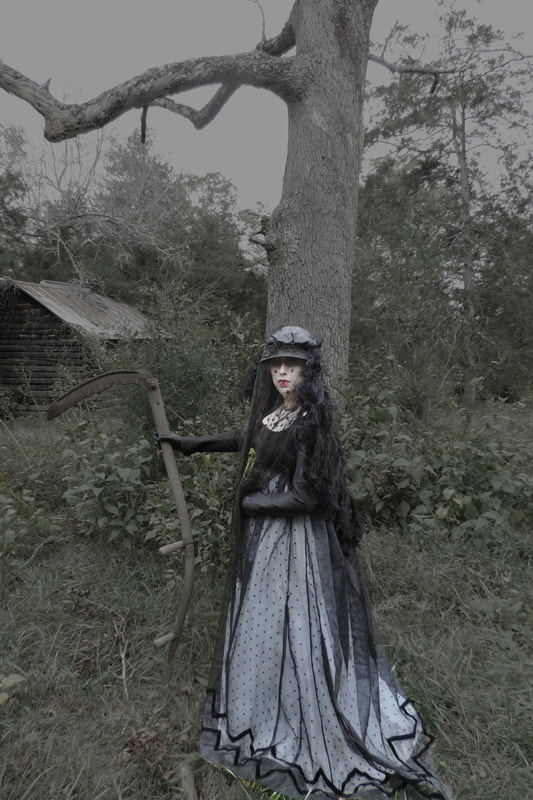
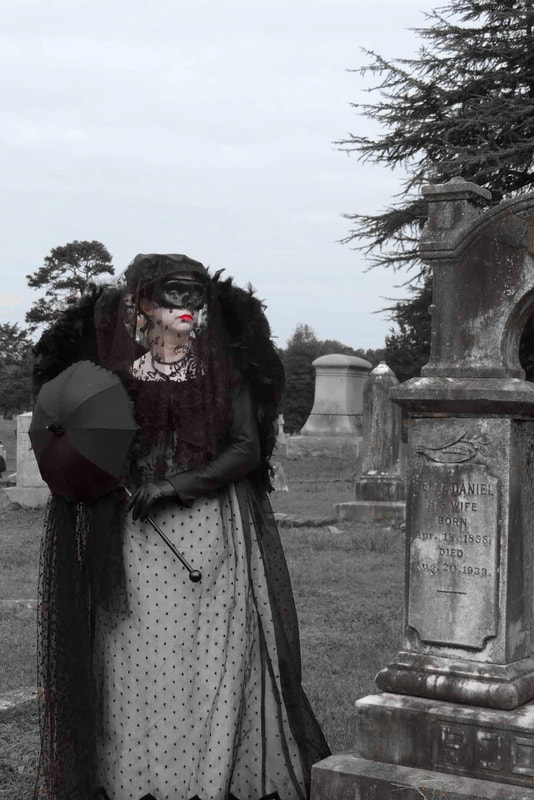
 The Process When I decided to take part in the Modern Maker’s Historical Halloween Costume Contest, I already had idea for an ensemble in my head. I wear black almost every day in my modern clothes, but not in historical costuming. The contest allowed me to finish the black impression and take it to Halloween. Halloween is and has always been my favorite holiday. I have always admired Halloween photoshoots by historical costumers and wanted to give it a shot. The competition gave me the little push I needed to actually follow through with the ideas I had been tossing around in my head. The ensemble idea was a good jumping off point, but I needed to take it further. I like spooky, but not scary. My vision for the photoshoot was to reflect that. In the process, there were successes and some issues along the way. I love the results. Even if I don’t win, I still had fun and got some great pictures. The spencer The spencer is pulled from an extant in the DAR collection. The pattern will soon be available from Figleaf Patterns. I have the benefit of testing some of their patterns before they are released and this is one of them. I love the super long tight sleeves on this garment. It is entirely handsewn in licorice silk taffeta from Silk Baron. The sheer petti-coat I initially wanted a sheer petticoat with a train, but I didn’t have enough fabric to make the train as long as I hoped. I really had to do some creative piecing to make it work at all. It is entirely hand sewn. Unfortunately, the fabric, originally purchased at 96 District Fabrics, was no longer available, so I had to make do. Also, I forgot how much I hate silk organza and the way it puffs instead of drapes. I added two rows of velvet trim at the bottom of the skirt to weigh down the bottom of the skirts. When I finished petticoat , I added additional full length skirts underneath for the desired volume. With this addition, I really liked the way the skirts looked with the spencer. The bonnet- My initial intention was to have most of the pictures with a black velvet poke bonnet. Once I had it all together, I didn’t like the poke bonnet with the spencer and petticoat. Probably because the bonnet shape I was using was 20 years fashion forward compared with the rest of the ensemble and looked overdone with the late 1790s silhouette. I decided a simple early soft crowned bonnet with a downward angled brim would be more suited to the rest of the ensemble. I used our Camillia Pattern. I added an original bonnet veil, but I needed more feathers! I always wanted a significant amount of feathers as part of this photoshoot. The wings- I decided to make wings. For the shape of the wings, I looked at 18th century gravestones and actual bird wings. I cut the wings from poster-board as a template. I then cut the wings from buckram and wired the outside of the wings individually. At that point, the wings were still unruly, so I ended up sewing wire back and forth across the wings as I would with a bonnet brim. I wanted to make a soft curve, but still support the wing. I then covered both sides of the wing with black cotton fabric. Before attaching the feathers, I looked at the anatomy of wing feathers online and examined the wings of my chickens to get a natural look. I fortunately have a lot of feathers in different sizes to choose from. I ended up using black pins to pin the feathers to the wings, so I could reuse the feathers at a later date. Hair and Makeup- My initial idea was to wear my hair down, but with the wings and so much black I was afraid my dark hair would turn me into a big black blob. I decided to wear my hair up and paint my face and neck white. I have a long neck which would create nice contrast to the tops of the wings. I used lbcc historical paint for the face. My daughter helped me paint and powder my face and neck. We added a dark shadow around the eye and a red lip. The look was overall very simple, but worked well. I used a masquerade mask for many of the pictures, so you can’t really see the dark eyes, but when I took the mask off some of the pictures ended up looking like a wide eyed Edward Scissorhands. Additional accessories- To complete the look, I added an original silk parasol, plain black masquerade mask, American Duchess boots, jewelry by Dames a la Mode, and a random piece of dotted netting that acted as additional veiling and random drape. Once I made the wings, I needed a scythe. I didn’t want a plastic scythe, but finding someone who had one proved difficult. The shoot- I live in a town established in 1814, but the cemeteries and churches are even older. I initially wanted to use the oldest cemetery, but on further thought I realized that it was surrounded by modern buildings, so shooting would be difficult. We decided instead to use a very large cemetery on the edge of town. My husband and eldest son were to take the pictures. We had very little time for the cemetery portion of the shoot (you know kids have obligations!). I mean very little...less an a half an hour. My daughter and cousin acted as art directors to make sure everything looked ok in the shoot. Some of the shots in each of the locations are interesting artistically, but didn’t really show off the outfit. When we finished, I received a text on my phone that friends had located a scythe for me, but I needed to use it near the owner’s house. We hopped in the car to the natural/farm location. We found some great old buildings, but it was a big muddy mess and traipsing through the woods in silk organza proved challenging. We ended up with some really great creepy shots, but some of the pictures really didn’t show the outfit well. The last pictures we took were the field shots. We did the best we could to not destroy the dress or the farmer’s soy beans and avoid fire ants at the same time to get these shots. I love the natural look and composition of these shots, but for some reason some of the pictures came out blurry. My Favorite ShotsI like the composition of this shot. It is really about the whole picture for me on this one. I am really an after thought. I love this shot because of the tree, the house, and you can really see my vision for the skirts. I do not like that you can’t see the wings. I like this shot because the wings are clearly visible while also showing the outfit. I like the contrast of the natural greens in the grass and ivy with my outfit and the stones. I like the composition of this shot and that the red lip is clearly visible. Like the previous shot, I also like the shape of the wing and the contrast of the green. I wish you could see the bottom of the dress in this shot. Creepy Editing and Final Thoughts
I really don’t care for edited photos other than a little cropping, but it was fun going a little crazy with some of these images to take them all the way to Halloween. I received help with editing from Kara Bocek. For the photo editing I used Photoshop. I used the subject selection tool and had fun playing with the background using filters, color selection, and blur tools. This was so much fun. I want to do more and can’t wait for next year! A special thanks goes out to my family for all of their help and to the Daniel and the Owens families for help with the scythe and the natural portion of the photoshoot.
1 Comment
7/8/2024 11:00:51 pm
It's interesting to see how the Modern Maker's contest inspired the writer to take their Halloween costume to the next level. It sounds like they had a specific vision in mind, and the competition provided the push they needed to bring it to life. I love that they went for a spooky but not scary vibe, and it's exciting to hear they're happy with the results! I'm curious to see what the finished costume looks like, especially the spencer with the long sleeves. It sounds like a lot of work went into making it by hand, and I can't wait to see the final product!
Reply
Leave a Reply. |
AuthorUsually Dannielle, sometimes Mandy Archives
January 2021
Categories |



 RSS Feed